Melon Coin Purse DIY
This cute little coin purse makes a perfect gift for yourself or someone you love, so let’s get sewing!
What you will need:
1/4 yard of red/white gingham fabric
1 yard of single folded bias tape
1 keychain
some black buttons (approximately 3/8” size)
1 yard of white ric rac
Download the pattern Here
Step 1:
Shape the green bias strip to the bottom edge of the coin purse. Use the iron to help set the curve.
Step 2:
Pin the green bias strip to the coin purse front and back bottom edge.
Step 3:
Stitch the green bias strip to the purse. Stitch approximately 1/8” from the edge.
Step 4:
Place the white ric rac on top of the green bias strip and stitch.
Step 5:
Finish the edge either serge or zig zag the edge all around.
Step 6:
Fold the top edge ¼” toward the wrong side of the fabric
Step 7:
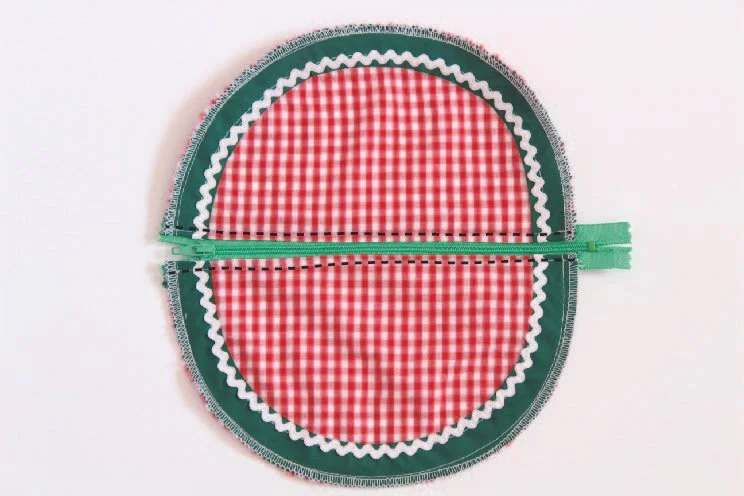
Place the zipper underneath the folded edge, line up the edge next to the center of the zipper. Pin in place.
Step 8:
Stitch along the folded edge.
Step 9:
Repeat the same for the other side.
Step 10:
Let’s give the melon some seeds! Hand stitch the black buttons to the coin purse front and back.
Here is an example of the buttons placement.
Step 11:
- Insert the 2”ric rac through the keychain hole
- Stitch the ric rac to one side of the coin purse as in diagram
Step 12:
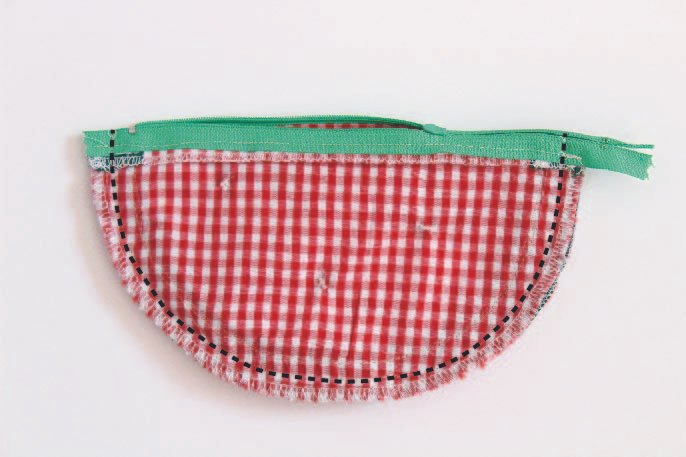
With the good sides of fabrics facing together, pin the front and back together.
Step 13:
Stitch. The seam allowance is 1/4”
Last step!
Trim off the excess zipper.
Turn the good side out, and you are done!


