

Let’s make a fun placemat
Hosting the best backyard brunch is no small task, especially if its for a special day like Mother’s Day. Aside from curating the perfect menu, you also need to set a table that would make Martha proud.
Here is a quick way to give your table setting the country chic feel . A cute gingham placemat with some bright mini tassels, with a a little side pocket to hold utensils. This project is super easy to make, so there will be lots of time to focus on other things like baking that perfect country bread.

What you will need: (this is for making 1 placemat)
a piece of fusible batting that is big enough to cut a rectangle 12” by 18”
5/8 yard of cotton, such as the gingham you see here
a piece of scrap that you can cut out 6” by 5” (Actually if you have a piece of really cute eyelet, I would use that)
a handful of mini tassels. I got mine from Amazon.
fabric scissors and thread

Cut your batting, 18” by 12”
This will determine the shape of the placemat, so take your time and make sure its cut properly. You want a rectangle, not a semi retctangle.

Cut 2 for the fabric.
Make sure it’s bigger than the batting.

Fuse the batting to the wrong side of the fabric. Just the one fabric.
Remember the rough side is the glue, so make sure you place the glue side on the fabric.

Add 1/2” seam allowance, all around.

Cut on the line.

Make sure you cut the second fabric the same. This will be the bottom of the placemat.
You should have one with batting, and one without.

Place the good side of fabrics together.
.

Stitch. 1/2” seam allowance.
Make sure you leave an opening at the bottom. I would say approximately 7”.

Clip the corners, and trim your seam allowance to eliminate bulkiness after your turn the inside out.

Turn the inside out.

Press the mat flat, and edge stitch all around.

Edge stitching : You are basically stitching close the the edge. Approximately 1/8” from the edge.
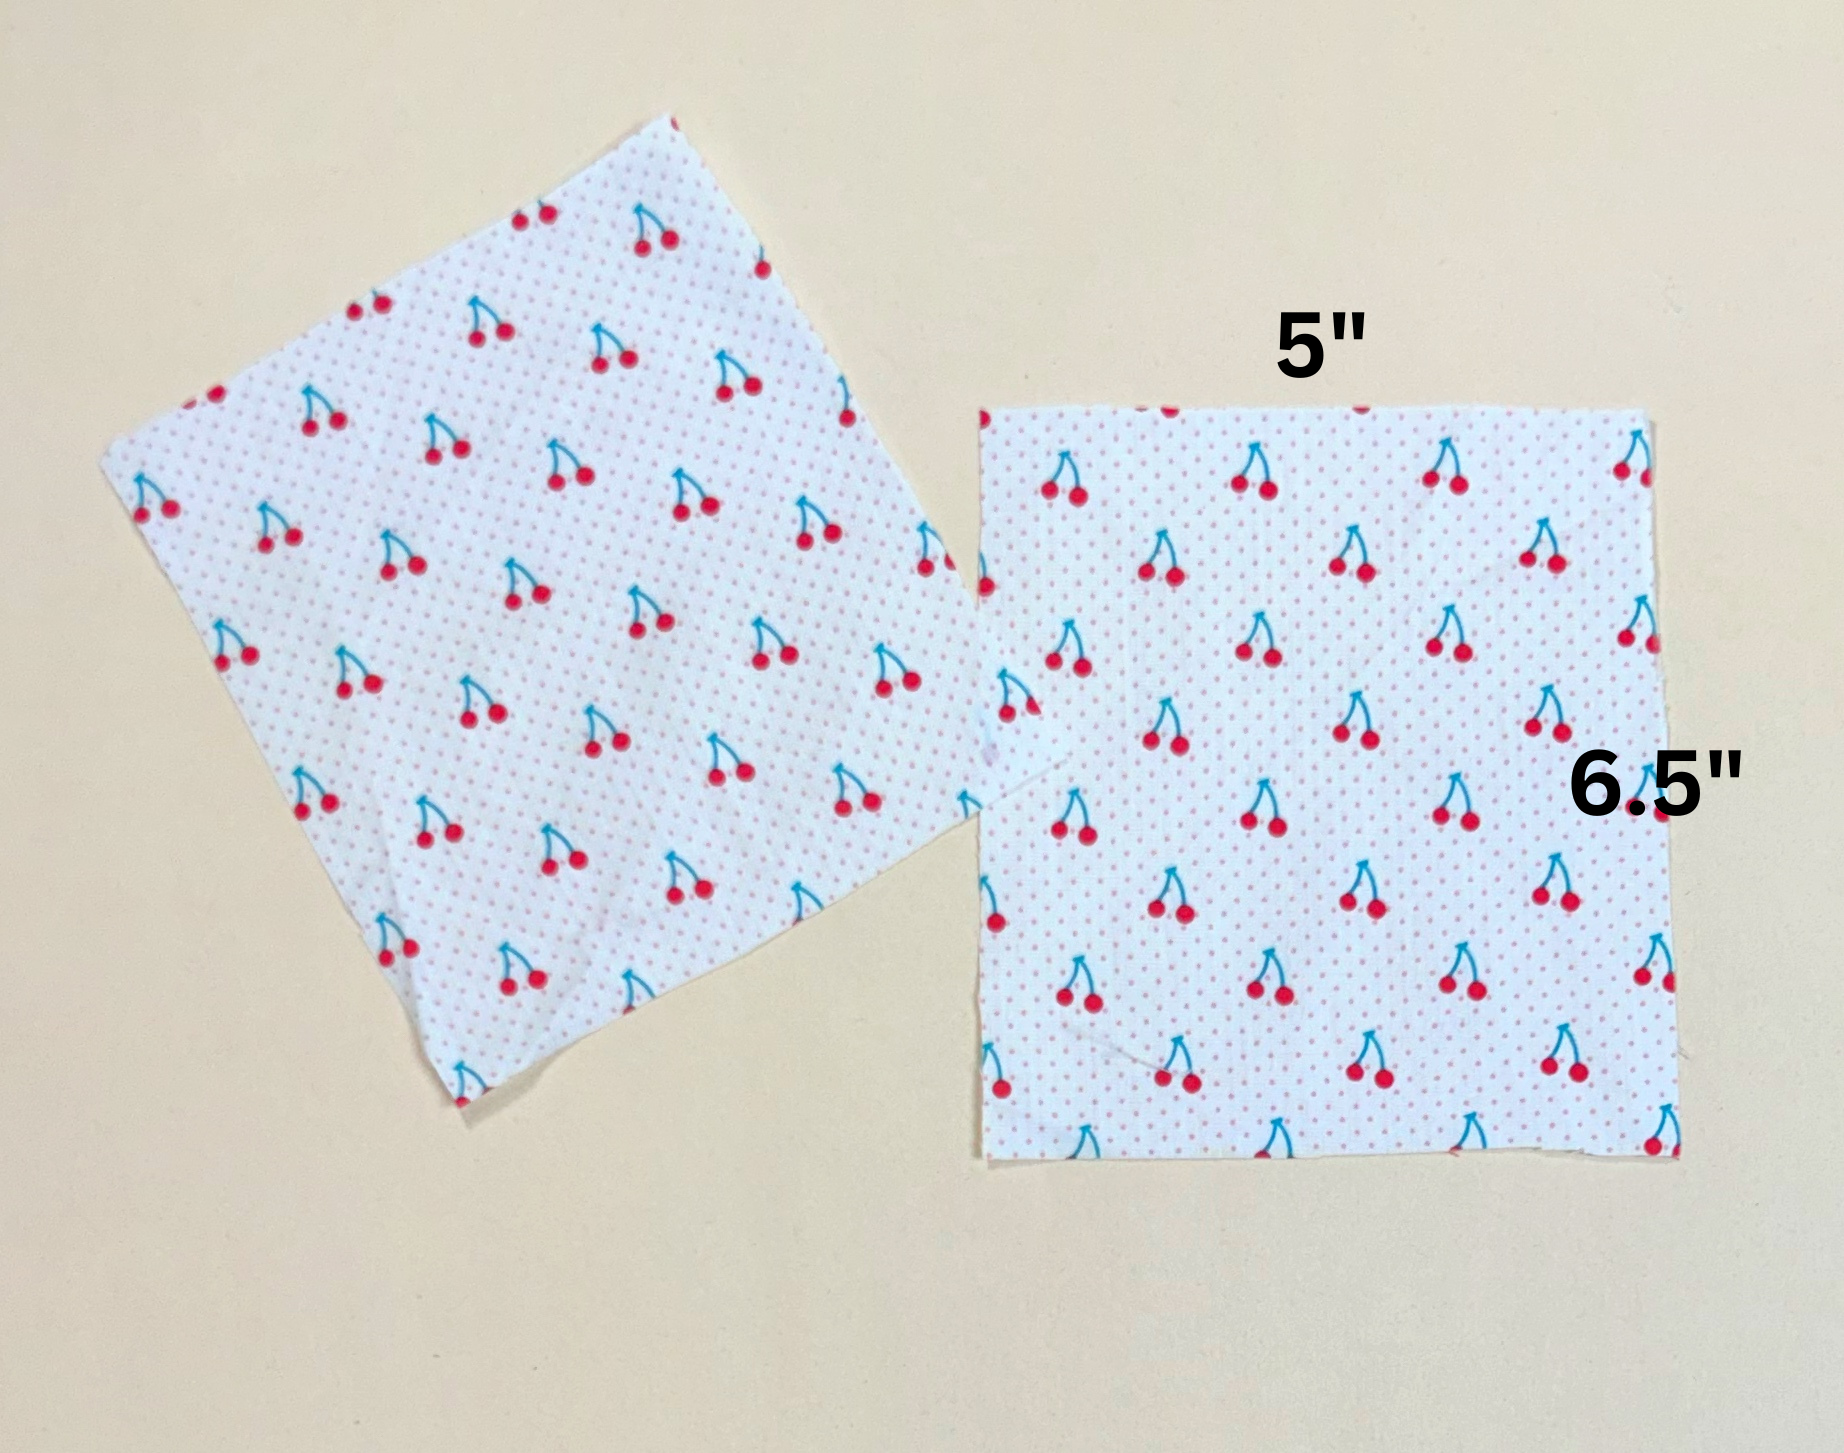
Cut the utensils holder. 2 pieces (5” by 6.5”)

Place the two pieces together, with the good sides facing together.

Stitch. Seam allowance 1/2”.
Make sure you leave an opening at the bottom.

Clip the corners and trim the seam allowance.

Turn the inside out. The opening will be the bottom of the utensil holder.

Place the utensil holder at the bottom of the placemat, as seen in diagram here. Pin in place.

Stitch in place.
Make sure you stitch close to the edge, and don’t stitch the top of the holder.

Tassels time!!
Figure out how many tassels you want on the side. I am doing 6 on each side.

Hand stitch the tassel.

You are done!! Now go and make a couple more.
Feel free to share your work with us by tagging us on Instagram @sewbeitstudio