

Snop Dog Stuffy
For this February, whether you celebrate valentine or galentine, this adorable dog stuffy is the perfect DIY gift for your loved ones. To be honest, this project is so cute and easy to make, you should make one for yourself too.

What you will need for this project:
fabric : cotton, or any medium weight woven fabric. This is the time to dig in to your remnants and scrap bins for this project. You can also use old jeans or clothing for an upcycle challenge. Make sure you have the fabric for the body, ears, arms and legs, belly, and face.
Heat n’ bond : get the strong hold ones
stuffing
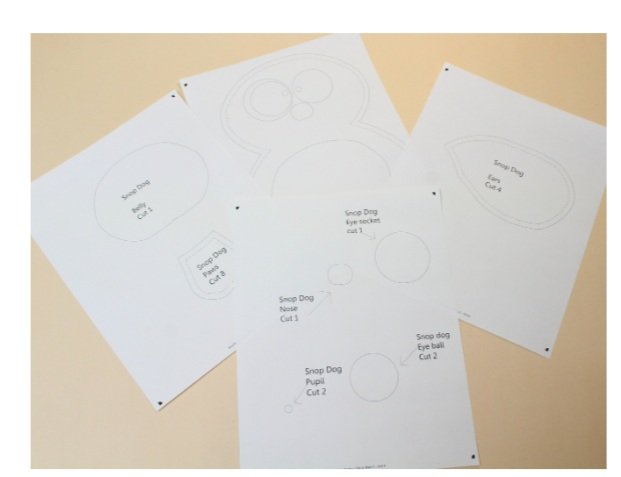
Print your pattern : head to our pattern site and get your free download HERE.
Let’s do some prep work!

Trace the eye socket x 1, eye ball x 2, nose x 1, pupil x 2 on the Heat n’ bond
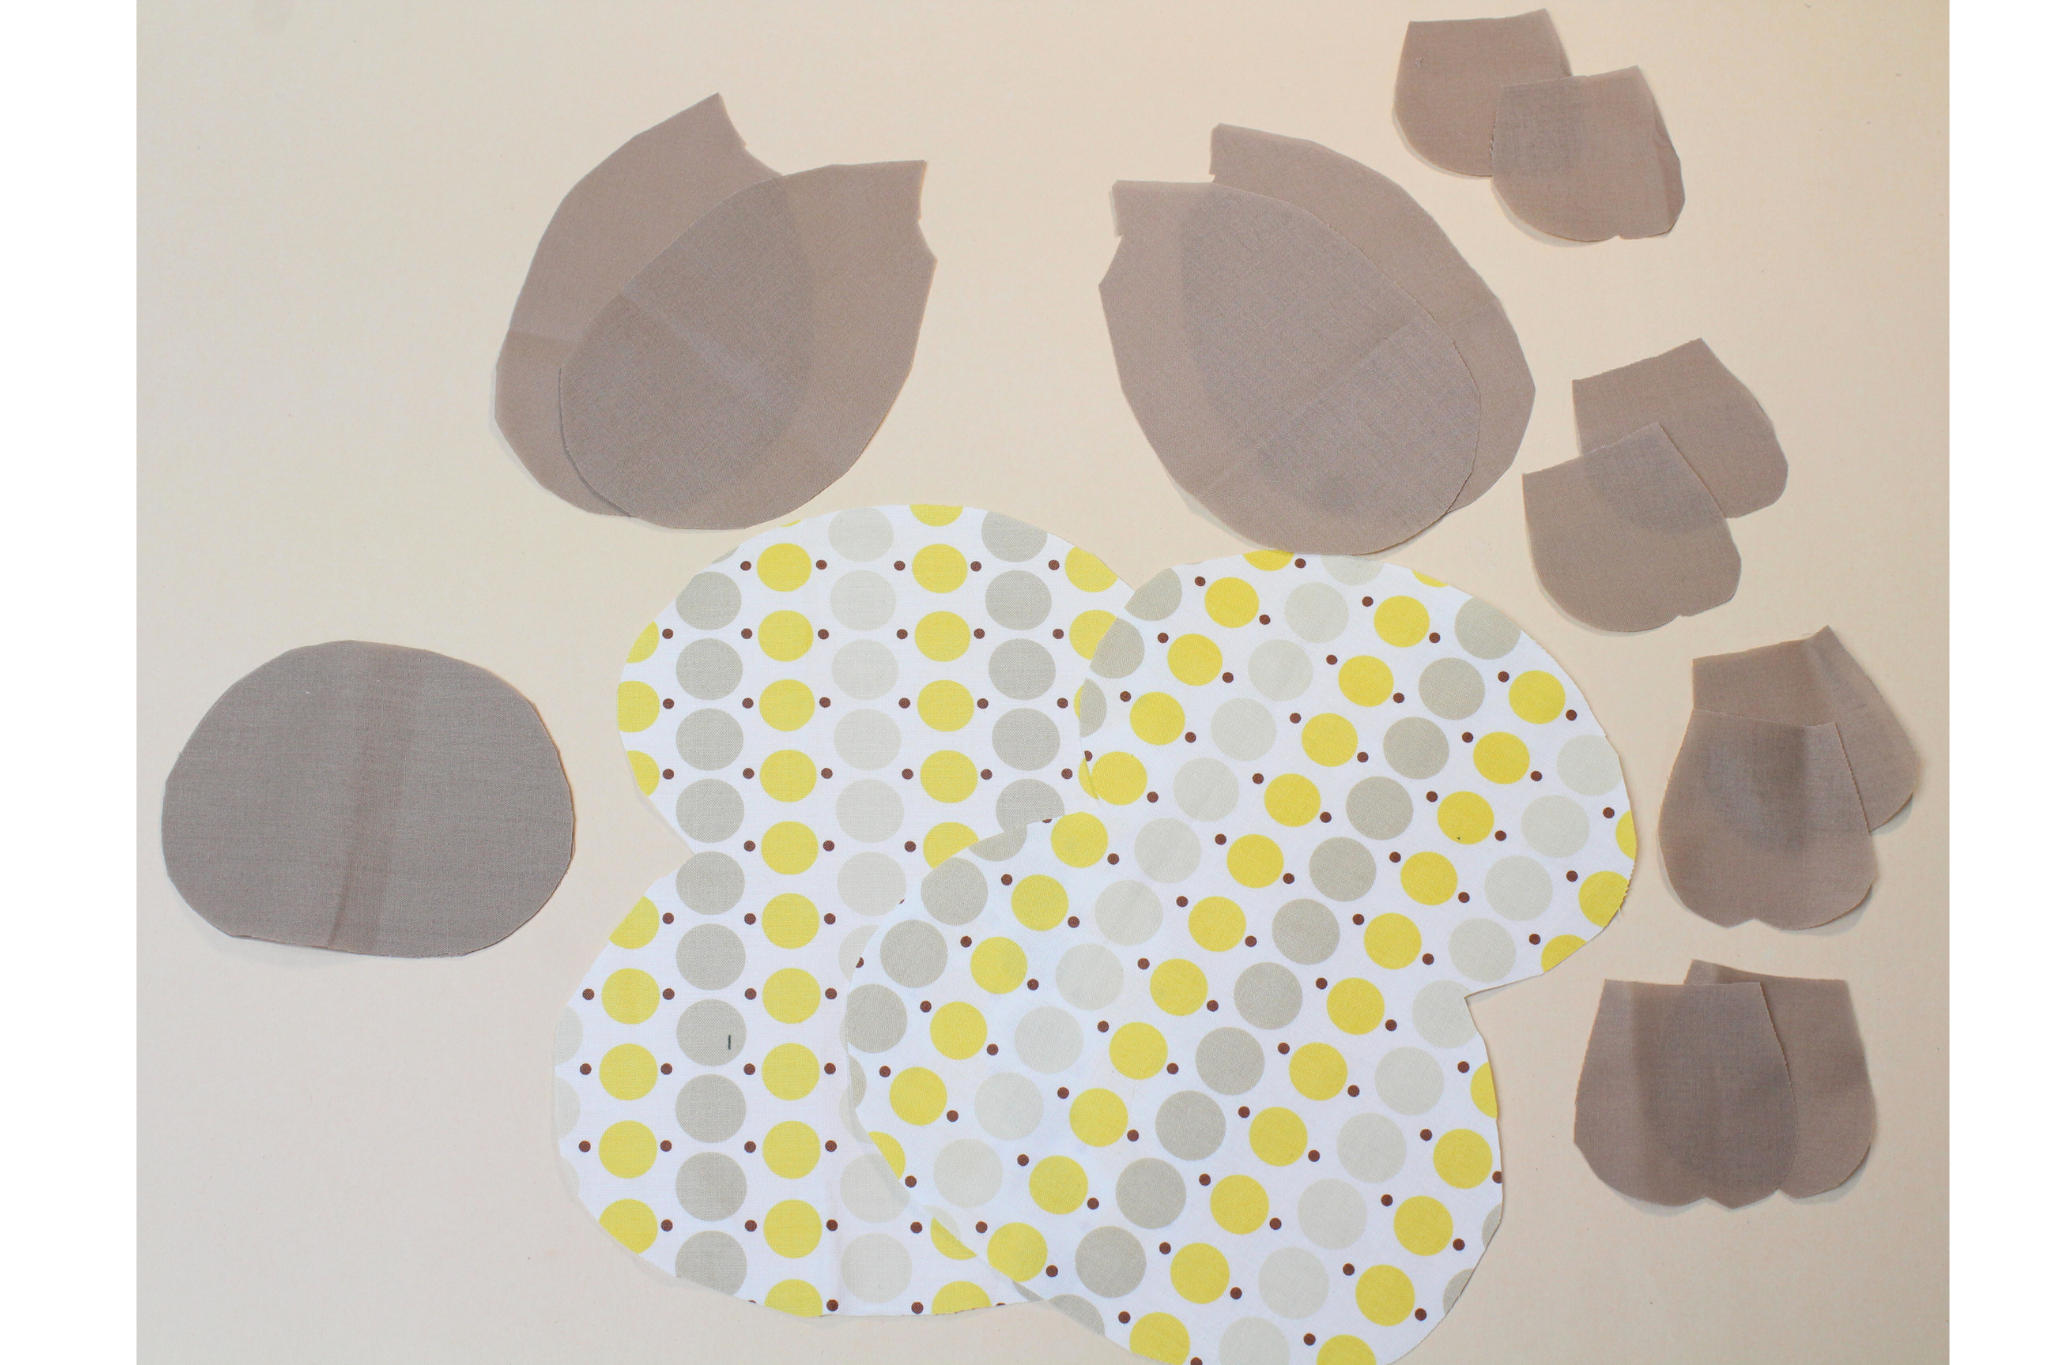
Cut your fabric: body x 2, ears x 4, arms & legs x 8, belly x 1

Cut the heat n’ bond pieces

Place the glue side of the heat n’ bond (the plastic side) on the wrong side of the fabric. Fuse them together with iron.

Cut them out
Time to start sewing!

Pin the belly to the body front. Stitch all around with a zig zag stitch.
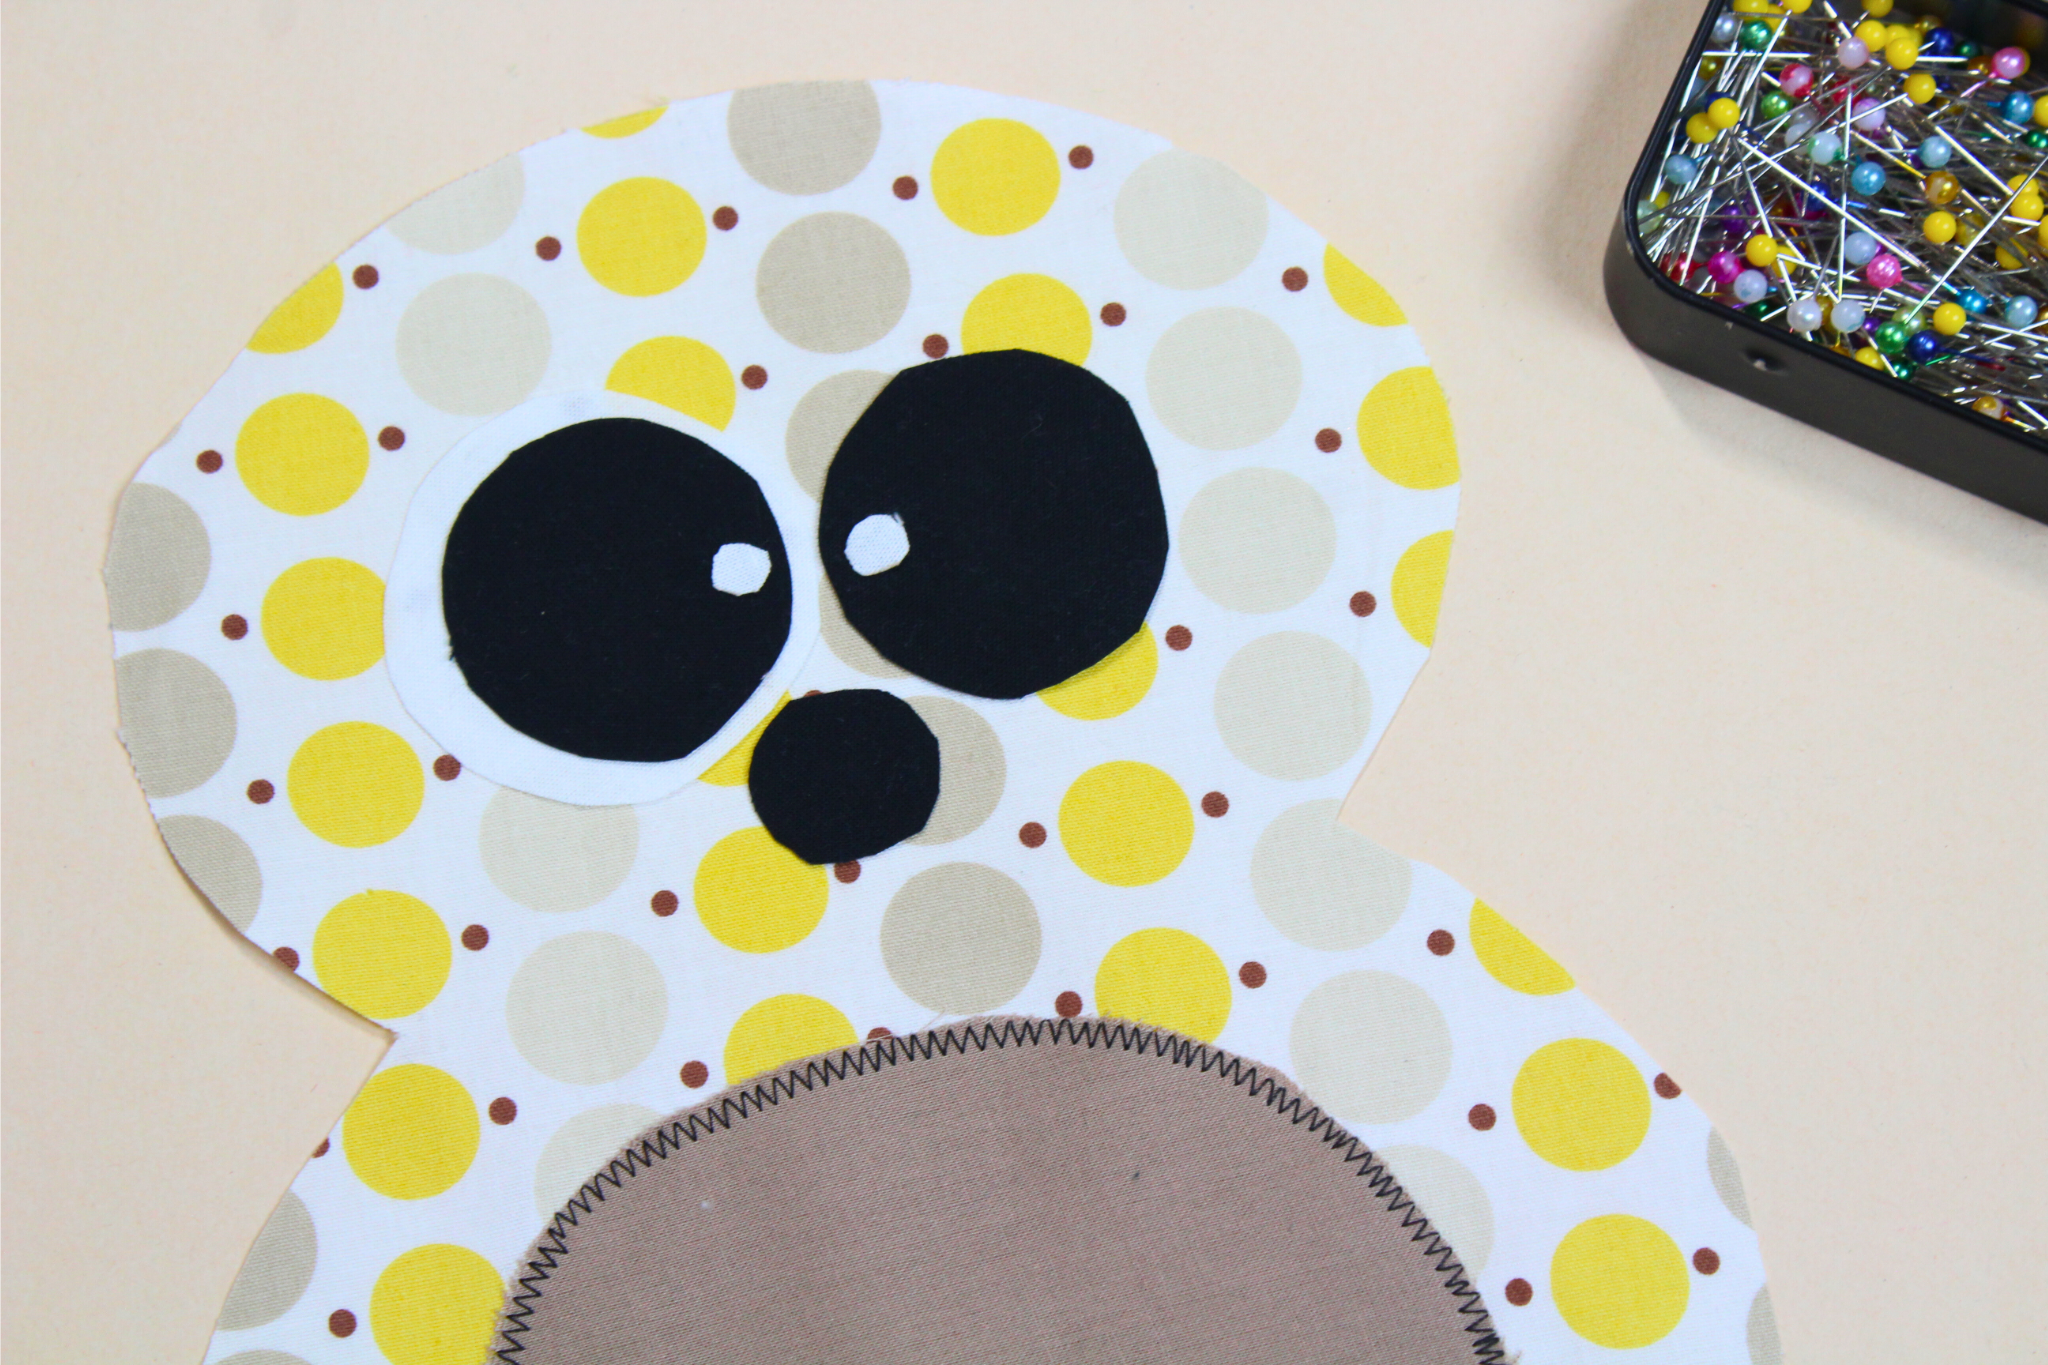
Peel the paper off the heat n’ bond pieces, and place them on the body front.
To make sure they stick to the face, use iron to melt the glue backing and they will stick. Just think of it like hot glue stick, but flat.
Note: you can stitch the face pieces for extra security.

So half way though this project, I kinda want to add a heart and a pink tongue. I think that just hike up the cuteness energy. Use the heat n’ bond to add the heart and tongue.
You can totally skip this if you like.

Make the ears.
Place the good side of fabrics facing together, stitch with 1/4” seam allowance. Leave the end unstitch.
Trim the seam allowance to approximately 1/8”

Make the arms and legs.
Stitch the 2 pieces together (good side of fabrics facing together), stitch around, leaving the top unstitch, and leave a little opening for the side (for stuffing later)
Once you finished stitching, make sure you trim your seam allowance and make a little clip at the point as in diagrams.

Turn the arms and legs inside out, and press flat.

Stitch the ears to the body front.
Place the ears on top of the body front, stitch with 1/4” seam allowance

Stitch the arms and legs to the body front. 1/4” seam allowance

Putting it all together!
Place the body back on top of the body front. Stitch with 1/4” seam allowance. Make sure you leave an opening at the bottom.

To release the body outline, make sure you clip your seam allowance.

Turn the body inside out, and press flat.

Time to stuffy the little guy! Stuff the body and the arms and legs. Nobody likes a skinny dog, so stuff it full!
We are almost done!

Grab your hand sewing needle and some thread, lets hand stitch all the opening close.

Create the ear shape.
Fold the ear back, like maybe half, and press a crease line.
And you are DONE!!
Please feel free to share your snop dog with us by tagging us on Instagram @sewbeitstudio or just simply email us your work at info@sewbeitstudio.com
Happy sewing!
